
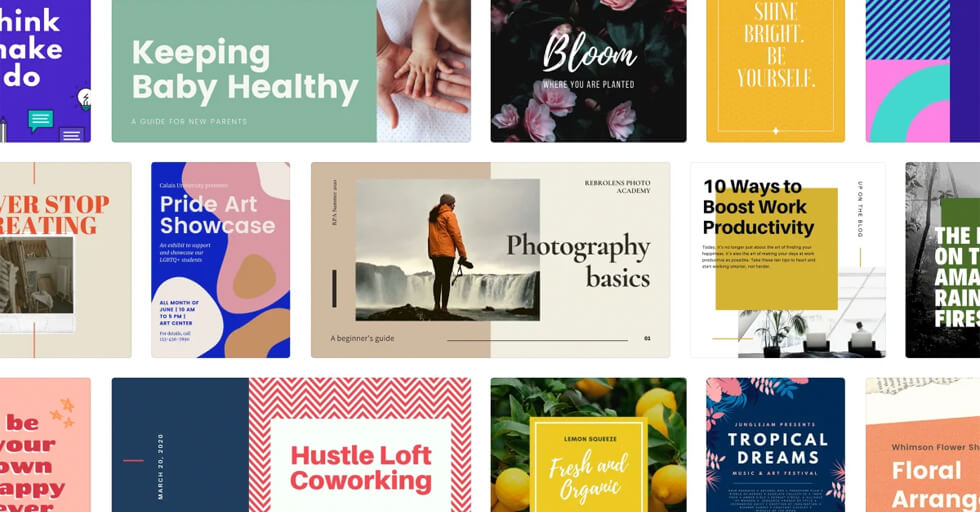
A picture (or an infographic, or a logo) is worth 1,000+ words…
Stunning visuals can help capture your audience’s attention, support your written content, communicate your value and solidify your brand. Masterfully crafted graphics, icons and overlays are incredibly useful when it comes to bringing your promotional materials from ho-hum to WOW.
Luckily, you don’t have to be a master Photoshopper to achieve a lot of the effects you admire on other websites or marketing materials. If you’re a DIY-er, there’s a slew of online graphic design tools that can help you create, edit, and share custom graphics –without the invested time and cost of a professional software suite or in-house graphic designer.
Two of our favorites: Canva and PicMonkey.
These handy sites open the doors to graphic design to just about anyone with a mouse. With a few clicks, a user can access cropping tools, graphic overlays, icons, and more. And the graphics can be used on social media, online calendars, marketing emails, web pages, printed collateral…you name it!
While both design platforms are similar in purpose, they offer different features depending on your needs. We’ve put together a quick overview to explore each platform’s benefits, optimal uses, and considerations — plus extra tips on how to use each tool to make basic graphic edits.
The Benefits of Using Canva
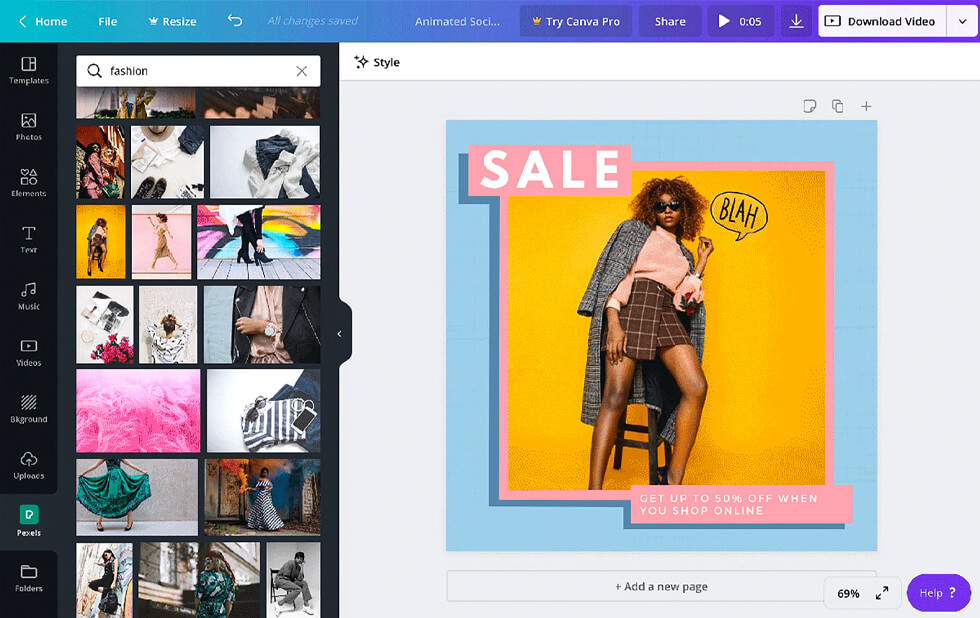
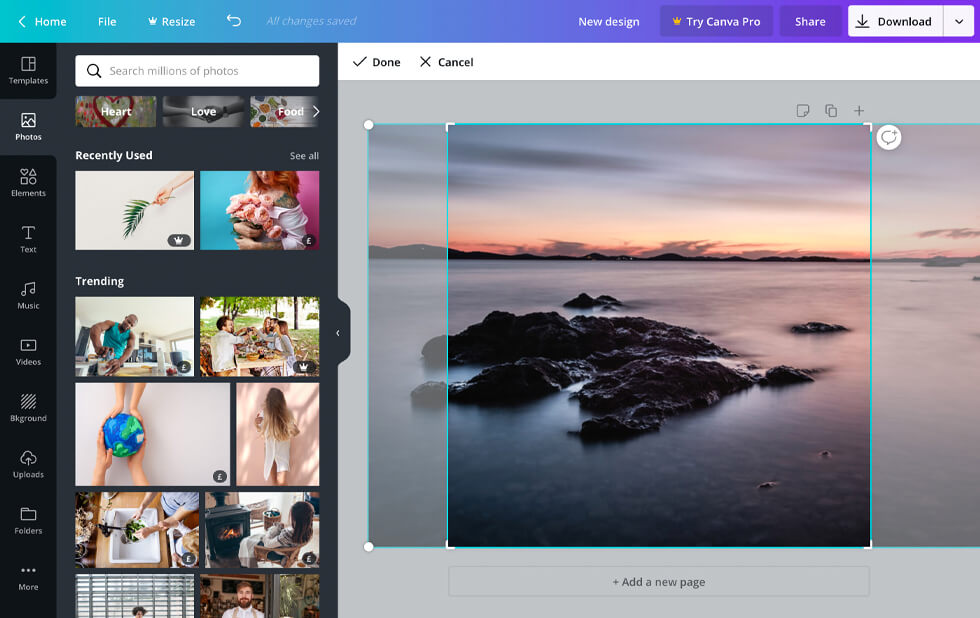
Canva offers the ability to create striking and original graphics from scratch. Canva has a reputation for being user-friendly and easy-to-learn, which is why we highlight it as one of the tools you can easily adopt to create your own designs.
Some benefits of Canva include:
- Easy navigation for both beginners and professional graphic designers.
- Quick and simple tutorials on how to create and use Canva’s features.
- Hundreds of preloaded templates, fonts, and high-quality images that can be used to create specific graphics.
- The ability to share projects and work on them together as a team.
- Photo editing features that include blurring, cropping, straightening, vignetting, and more.
And… it’s free! All the features listed above are included in the free plan. However, if you want even more access to extra templates and features, Canva offers paid plans for individuals, teams and businesses, too.
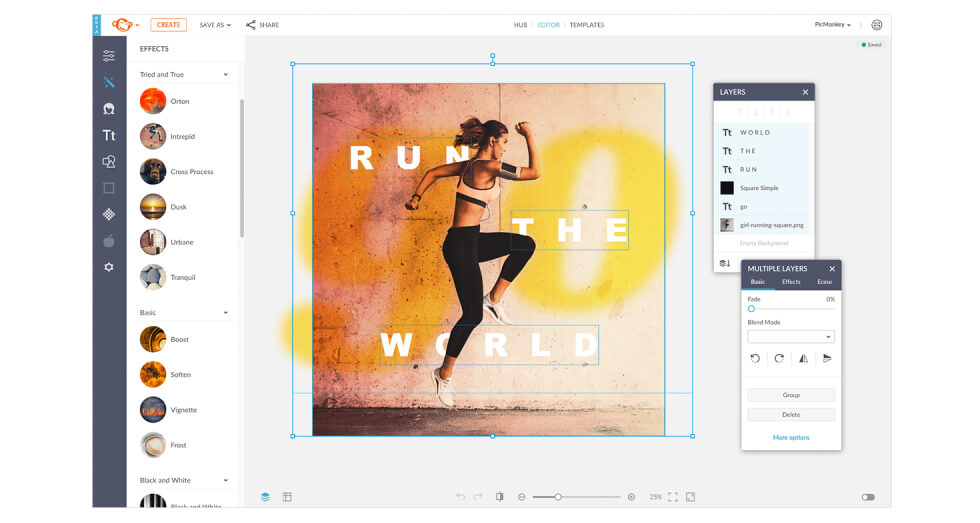
The Benefits of Using PicMonkey
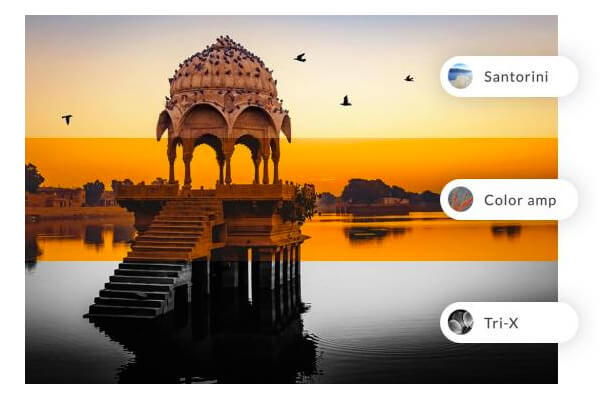
Along with Canva, PicMonkey is set up to create stunning graphics and pictures for almost any occasion. PicMonkey is similar in that it can be used to create designs, but is more focused on photo editing than Canva. Though PicMonkey has fewer overall features, there are still many benefits that make it a great program to use.
Some benefits of PicMonkey include:
- Access to photo editing tools such as cropping, resizing, and exposure adjustment, plus filters and effects to enhance your images.
- The ability to work on a project from either your desktop or on the PicMonkey app.
- Cloud storage to back up and save your work.
- Templates and touch-up tools with tutorials available for users.
- Animation features that support .mp4 videos and animated .gif images.
PicMonkey’s basic plan includes a small fee to start, but like Canva, it also offers other paid plans with upgrades depending on which features you’d like access to.
How to Get Started with Canva

First things first, create your free Canva account by clicking the “Sign Up” button. You can login easily with your Facebook or Google credentials, or sign up with your email and a unique password.
Canva will then walk you through some setup questions:
- What will you be using Cava for?
- Who’s on your team?
- What would you like to create?
When you get to the final question, you can choose from several pre-formatted graphic options, like an Instagram Post, Facebook Cover Photo, Logo, and more. Click your choice, and then walk through the quick step-by-step demo, where Canva will show you how to navigate the design page.
Once you’re ready with your shiny new graphic, you can either click “Download” to save a copy to your computer, or “Share” if you’d like to send it to other people on your team for review. Canva will give you a link to pass along, or you can type in email address and Canva will send a personalized email with viewing instructions.
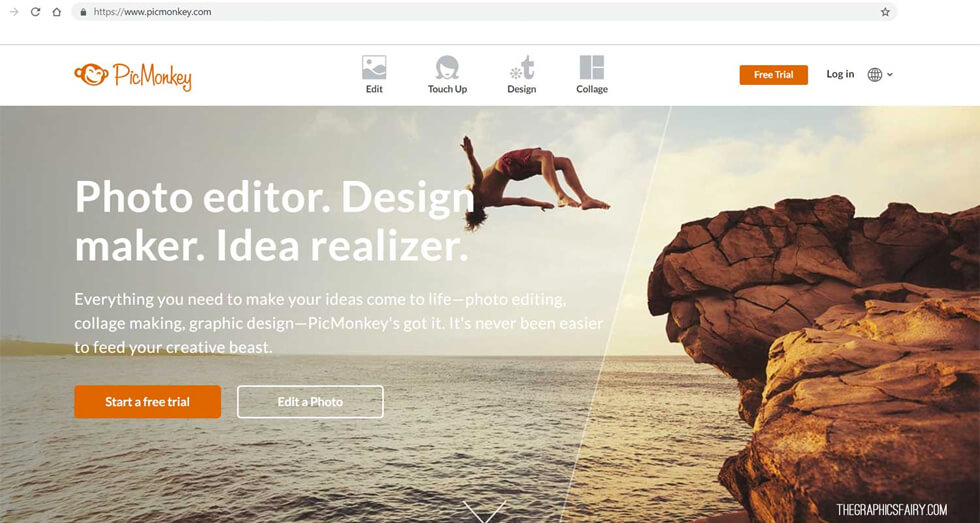
How to Get Started with PicMonkey
To get started with PicMonkey, click the “Free Trial” button in the upper right corner of their homepage.
You can choose to set up a login with your Facebook or Google credentials, or sign up with an email and password.
Next, PicMonkey will ask you to choose from their menu of paid plans. If you’d rather get started without entering your payment info, you have the option of clicking “Skip for now” in the upper righthand corner (it’s a tiny link).
Next, you’ll see a welcome popup where you can “Start Tour (4 minutes),” which is recommended for getting acquainted! The website will walk you through an interactive tour of PicMonkey basics, like:
- Replacing a photo
- Editing text
- Finding and editing a graphic for overlays
- Using layers
- Downloading and sharing
Once your tour is complete, you can either keep working on the graphic you created with PicMonkey’s help, or click “Create New” to get started with the new project of your own. If you do choose to create a new graphic, PicMonkey will give you pre-sized choices that include YouTube Thumbnails, Instagram Stories, Facebook Posts, Facebook Event Covers, Business Cards and way more.
Once you make your selection, PicMonkey will load with a perfectly-sized canvas for you to launch into your own creative design.
How To Use Both Programs For Image Editing Online
Whether you decide to try out Canva, PicMonkey, or both, here’s how the features work and what they do to help in the creation of your graphic.
Cropping & Resizing Images
When you’re ready to share your new, fabulous graphics out to the world, both Canva and PicMonkey have cropping and resizing tools that allow you to tailor your dimensions to whichever digital platform you want to use.
When using Canva, you can choose a template already made in the specific dimensions for Facebook, Instagram, Slide presentations, and more. You also have the option to manually change the dimensions of an image and crop out any unnecessary or unwanted parts.
On PicMonkey, all you have to do is upload your images to the editor, or simply drag and drop your pics from your desktop onto the browser window. Then, select the Resize tool in the Edits menu. This allows you to customize your image resize by choosing a preset size or entering your own dimensions.
Text Overlay
Text overlay is just like it sounds…you can add text over a picture or video. It’s extremely useful when you want to wrap a message and design in one easily-digestible package.
Important note: text overlay on images isn’t able to be “read” by some email hosts or search engine scanners (aka Google). So if you add text to an image, it is also useful to type it out on the same webpage or email as well, so your important info doesn’t get missed!
In Canva, once you’ve chosen your template or created your own custom dimensions for the graphic, all you have to do is add a Text Box over the photo or video. The program will give you the options to change the size, font, color, and other details to fit your preference.
For PicMonkey, all the options for text overlay are under the Graphics tab, where you will find tons of options ranging from normal fonts and shapes to multicolored, artist-drawn confections that you can lay over your image or video.
Adding Your Logo or Icons
Whether you already have a logo, or you’ve just made a fabulous one on Canva or PicMonkey, both designing platforms have the option of uploading your logo onto a graphic or image you’ve just designed.
It’s an easy process for both programs. All you have to do is upload your logo using the Upload feature, and then overlay the logo or icon on your new graphic…and then you’re done! Now your design has your personal touch, and will be affiliated with your business no matter where it gets seen on the web.
Small Edits Make Big Impressions
When it comes to sharing visuals online, an image isn’t an image, isn’t an image, isn’t an image…
Meaning, you might have a great image, but it won’t necessarily translate for all uses. You might need a square layout for Instagram, a landscape for your LinkedIn cover photo, or less layover text for an approvable Facebook ad.
Taking the challenge out of simple tasks like cropping and resizing are what Canva and PicMonkey do best. They both offer easy and affordable ways to quickly shape and stamp your branded graphics without the need for spendy software and learning time. Plus, they offer fun tools for exploring new ways to showcase your brand.
Hop in and start editing! By diving in and getting to know these platforms, you’ll give yourself an edge and confidence when it comes to quickly crafting perfectly-sized designs for you to use in both printing and online.
BONUS TOOL! Using Image Online to Crop Circular Images
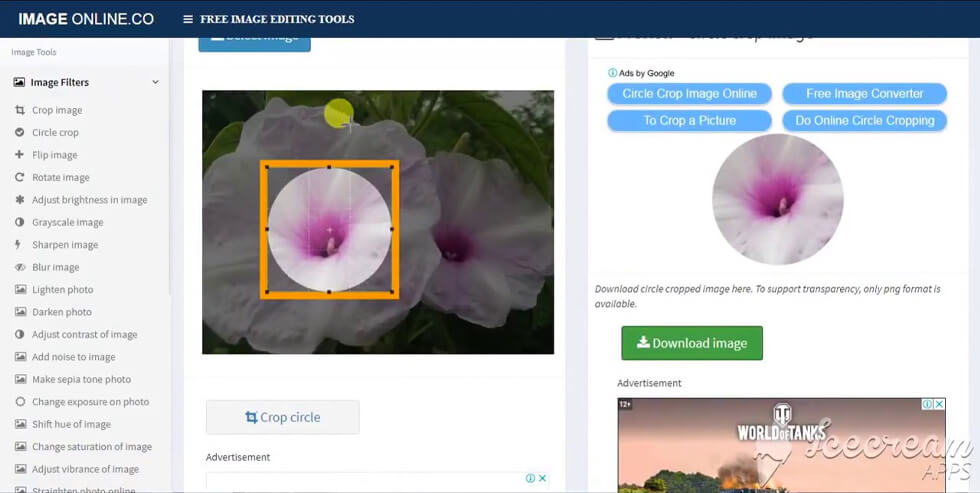
Image Online an online tool used to circularly crop your images. To get started, go to www.crop-circle.imageonline.co.
Next you’ll need to upload your image by clicking the blue button which says Select Image. Once the image has been uploaded, simply move the cropping preview to get your desired effect. Once you are happy with the cropping placement, click on the green button that says Download image. And voilà, you’ve got a circular image.
***
When you find yourself in need of professional graphic design, reach out to Ruby Slipper! Check out our branding and design services and contact us for more information. We’d love to share how an artfully crafted brand experience helps build meaningful and long-lasting relationships with your dream audience!
 Every day, we are immersed in the fast-paced world of marketing and web design. Here, we share our insights with you!